 |
| Lidded Box Series in Progress |
The challenge here was to keep all of the pieces and ends straight so the grain flows seamlessly around the box. The reddish colored ones are made of Macacauba and will be joined with brass screws that will be cut off and filed even with the surface. You can see the trial piece on the left. The others are the Brazilian Satinwood. They will be joined with Walnut pegs which will result in a nice contrast. Here's a photo of that experiment:
 |
| Satinwood with Walnut Peg |
I'm looking forward to seeing how this will end up, I like it so far! The next phase will be to fine tune the finger joints which are 1/2" wide. This is one of those machine operations where if there was only one box to do it probably would have been just as fast to do it completely by hand but ..... with four boxes in this series making a jig and taking the time to set it up was well worth it.
The real trick here was to keep the ends, front side, and back side organized. After many trials the first step is to cut the side piece which is then used to set the proper spacing for the front/back:
 |
| Using the Side to set the Front |
 |
| Finishing the Fingers |
You may have noticed the chalk markings on the pieces of Macacauba, here is the goal:
 |
| All in a Row |
Not only did I need to keep the grain pattern in mind, especially with the Macacauba; it was important to make sure the right side faced out and the top and bottom were kept in their proper location.
The next step was to cut the top finger from the front and back pieces. This is to make room for the lid which will pivot on a brass pin. This was cut oversized on the tablesaw and then planed to fit. When I planed the Brazilian Satinwood the shavings were really cool!
 |
| Cool Shavings -- Brazilian Satinwood |
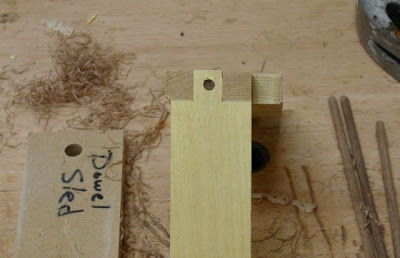
The final things accomplished before leaving the 98 degrees was to design a set up which would allow me to drill the holes in the center of each finger for the pegs and, of course; make the dowels from Walnut with the dowel plate.
 |
| Making the Walnut pegs |
The Lie-Nielsen Dowel Plate is well worth its' cost, can't think of any other way to get accurately sized dowels out of any species needed.


No comments:
Post a Comment