


In many traditionally built pieces the back is made of solid wood, contemporary design has us making backs from plywood where you don't have to worry about contraction and expansion of the wood across the grain with changes in the humidity. I had a short length of 8/4 Maple which I re-sawed and turned into several pieces measuring 3/8" thick and about 3" wide. Here's the pictorial sequence of how I formed tongue and groove joints on these to turn them into my floating panel for the back of the chest.


Next I set up a 3/8" rabbet bit and cut the opposite side of each board to create the tongue. I used that new fence I mentioned in a previous blog and am happy to report it sucked up about 90% of the sawdust -- nice improvement!
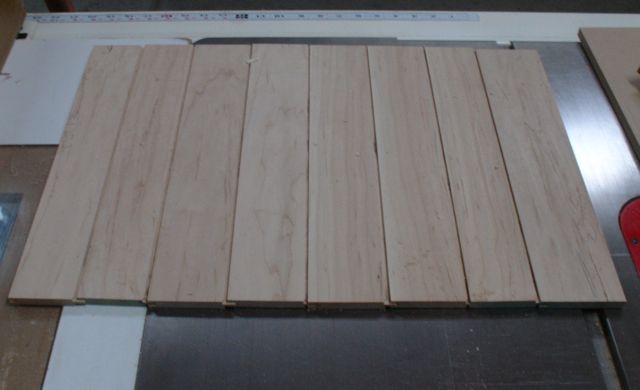
Here are the boards when they're assembled. More than enough to span the panel that will make up the back of the chest.
Although I have made a general sketch of this chest, much of it is being designed "on the fly". If this were a commission I wouldn't have so much leeway. Also, since I'm using leftover lumber that dictates my sizes too. Tomorrow will be spent making the side panels. They will be made out of the only wood I purchased, Alder, and have maple panels.
No comments:
Post a Comment